
Give the first action a clear reason
“One per row and column” alone does not teach a new player where to tap. The actual 4×4 tutorial begins with one green square forming a region by itself. Its koala is certain, letting the player learn a double-tap without guessing.
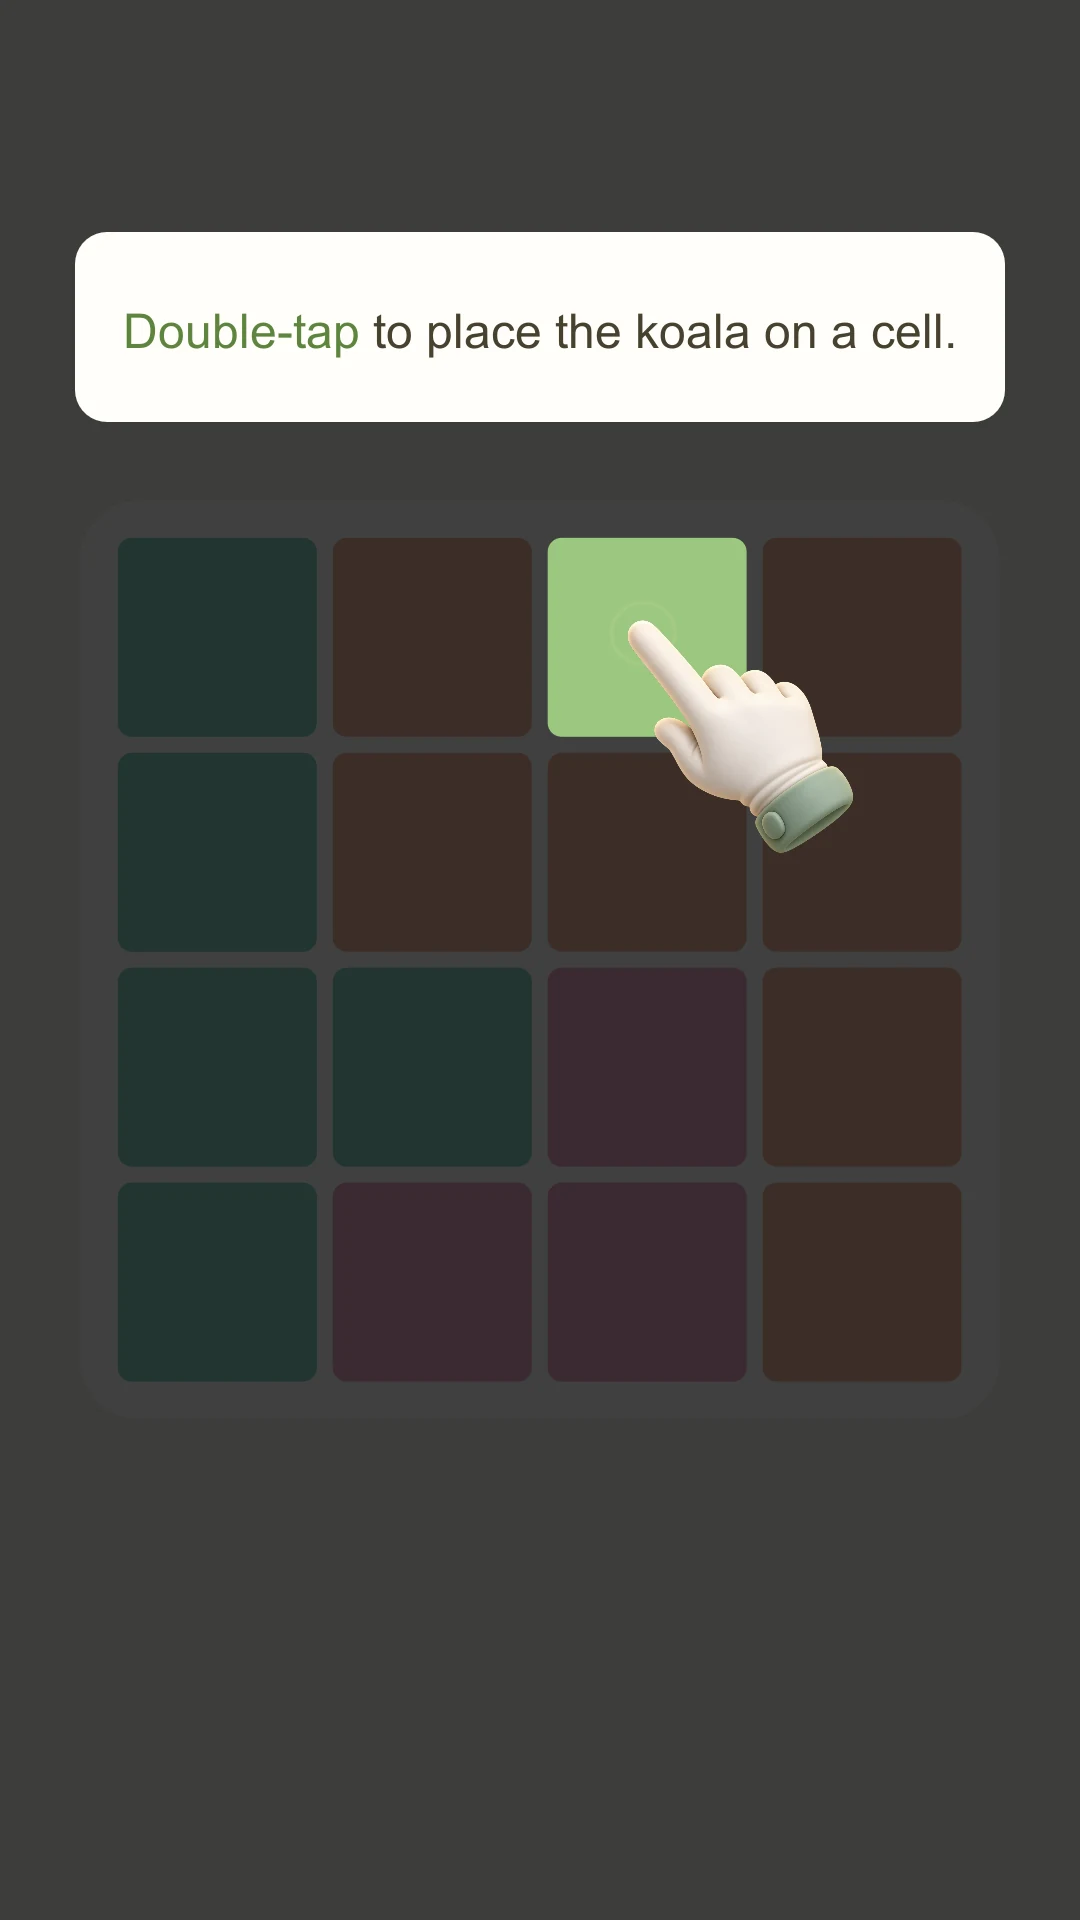
Figure 1: a certain starting point reduces the first action’s complexity.
Separate placement from exclusion
After the first koala, six highlighted squares teach single-tap marking in its row and column. The second koala then introduces neighboring squares, including diagonals. Each lesson has a concrete object to act on.
Controls and logic explain each other: double taps place a certain koala; single taps record certain exclusions. The character provides feedback, while the changing board information drives the next step.
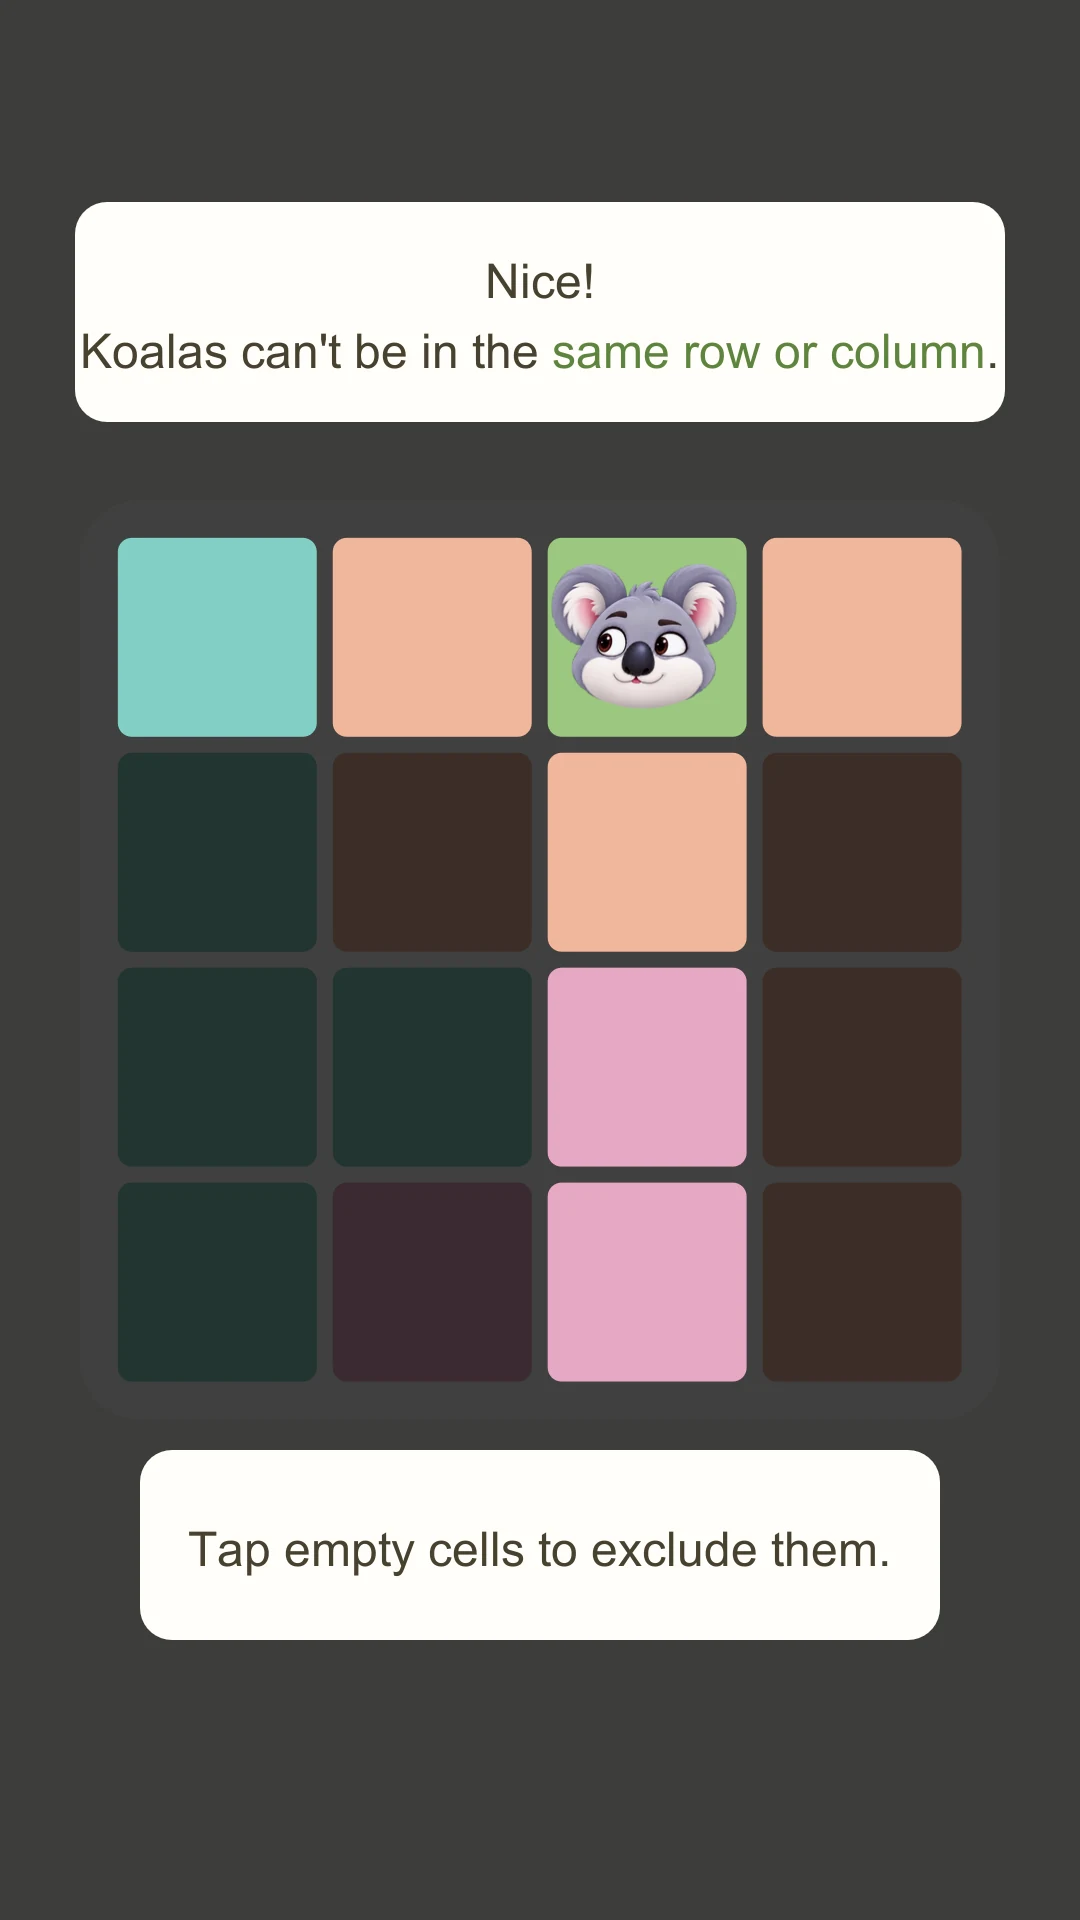
Figure 2: the marks visibly reduce the pink region to one candidate.
Leave the final deduction to the player
The fourth koala is a free-play step. One row and one column remain unused, and their intersection gives the answer. The web tutorial preserves that independent step.
Difficulty grows through candidate relationships
The 5×5 example mostly uses single-square regions and single candidates. The 7×7 example uses a pair to lock a region. The 9×9 example needs conflicts shared by every candidate of a unit.
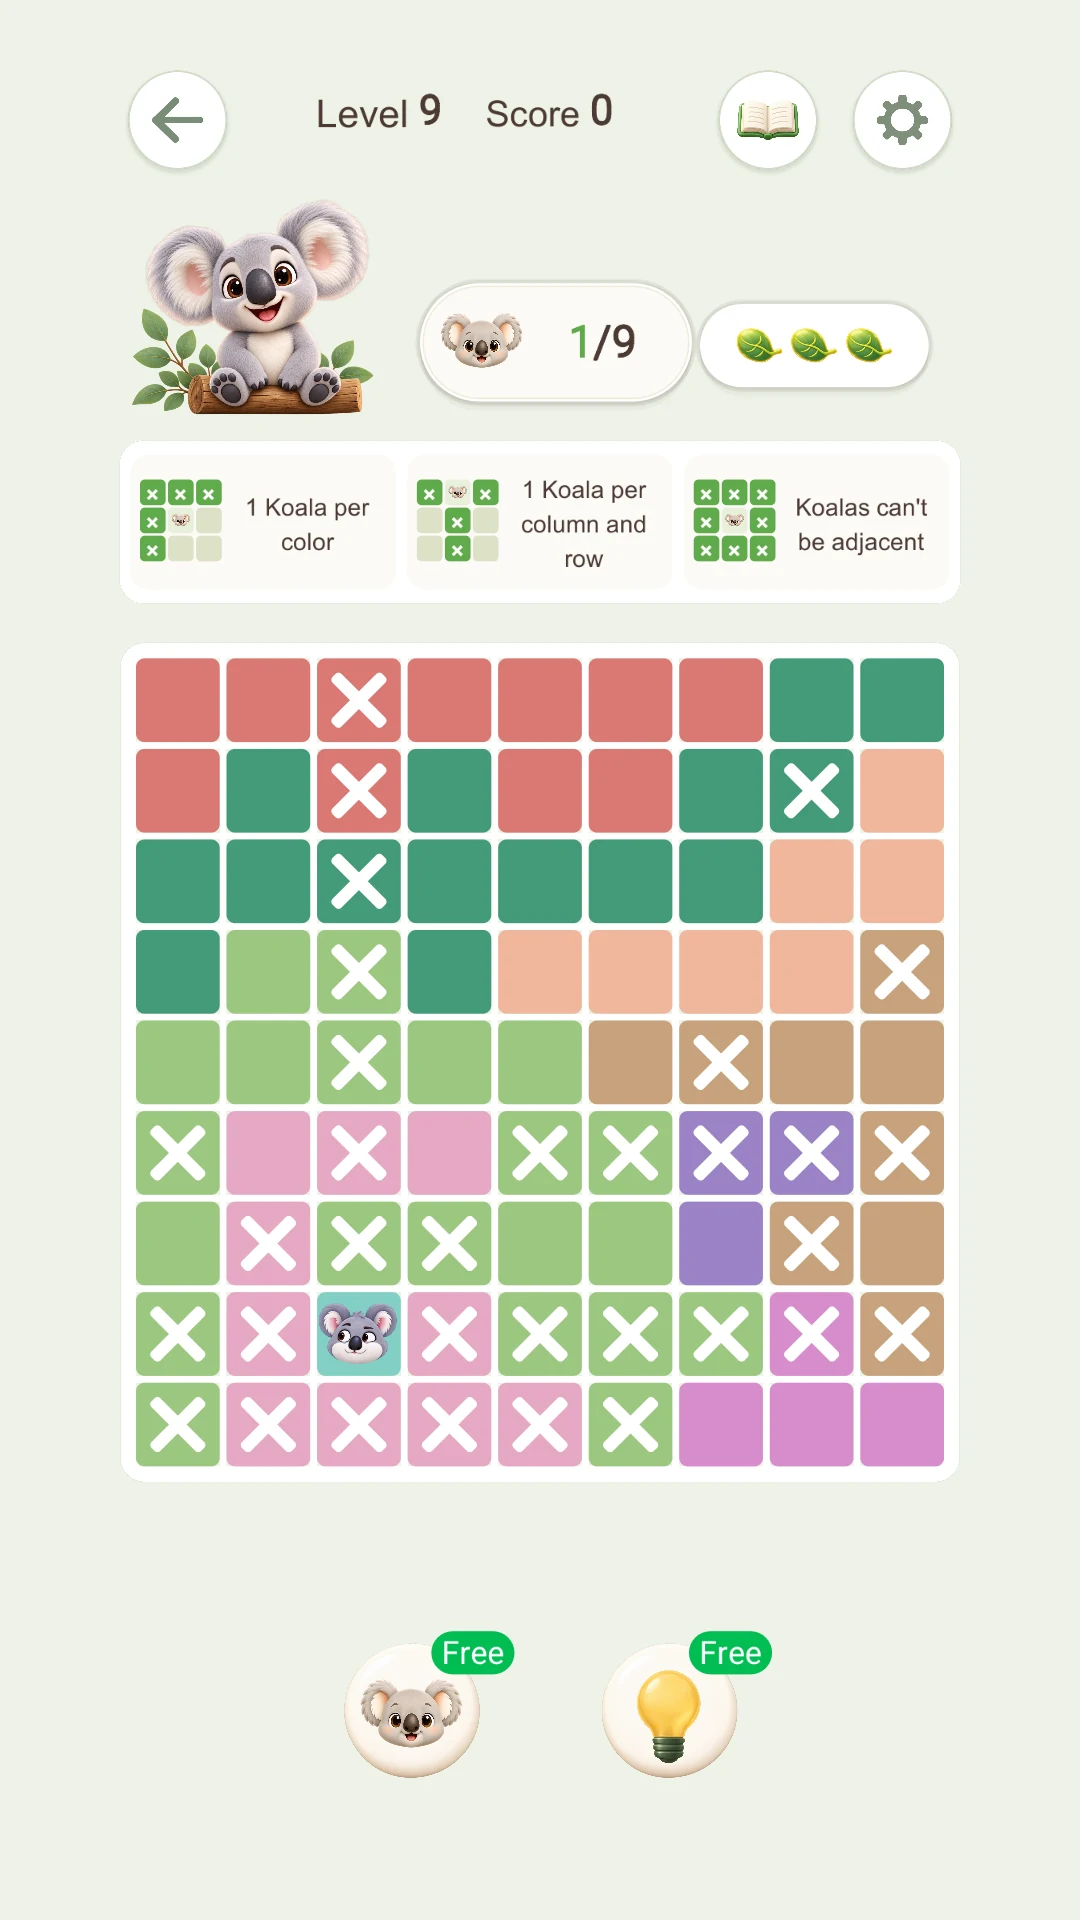
Figure 3: a larger board rewards reading relationships between candidates.
These are observations of the current tutorial and examples, not additional rules. Explore the illustrated 5×5, 7×7, and 9×9 guides to see the progression.