
Was it a mark or a placement?
One tap marks ×; a quick double-tap places a koala. A mark records your exclusion, not an answer. Two slow taps are not a double-tap. Pause and try two quick taps on the same square if you were toggling a mark instead.
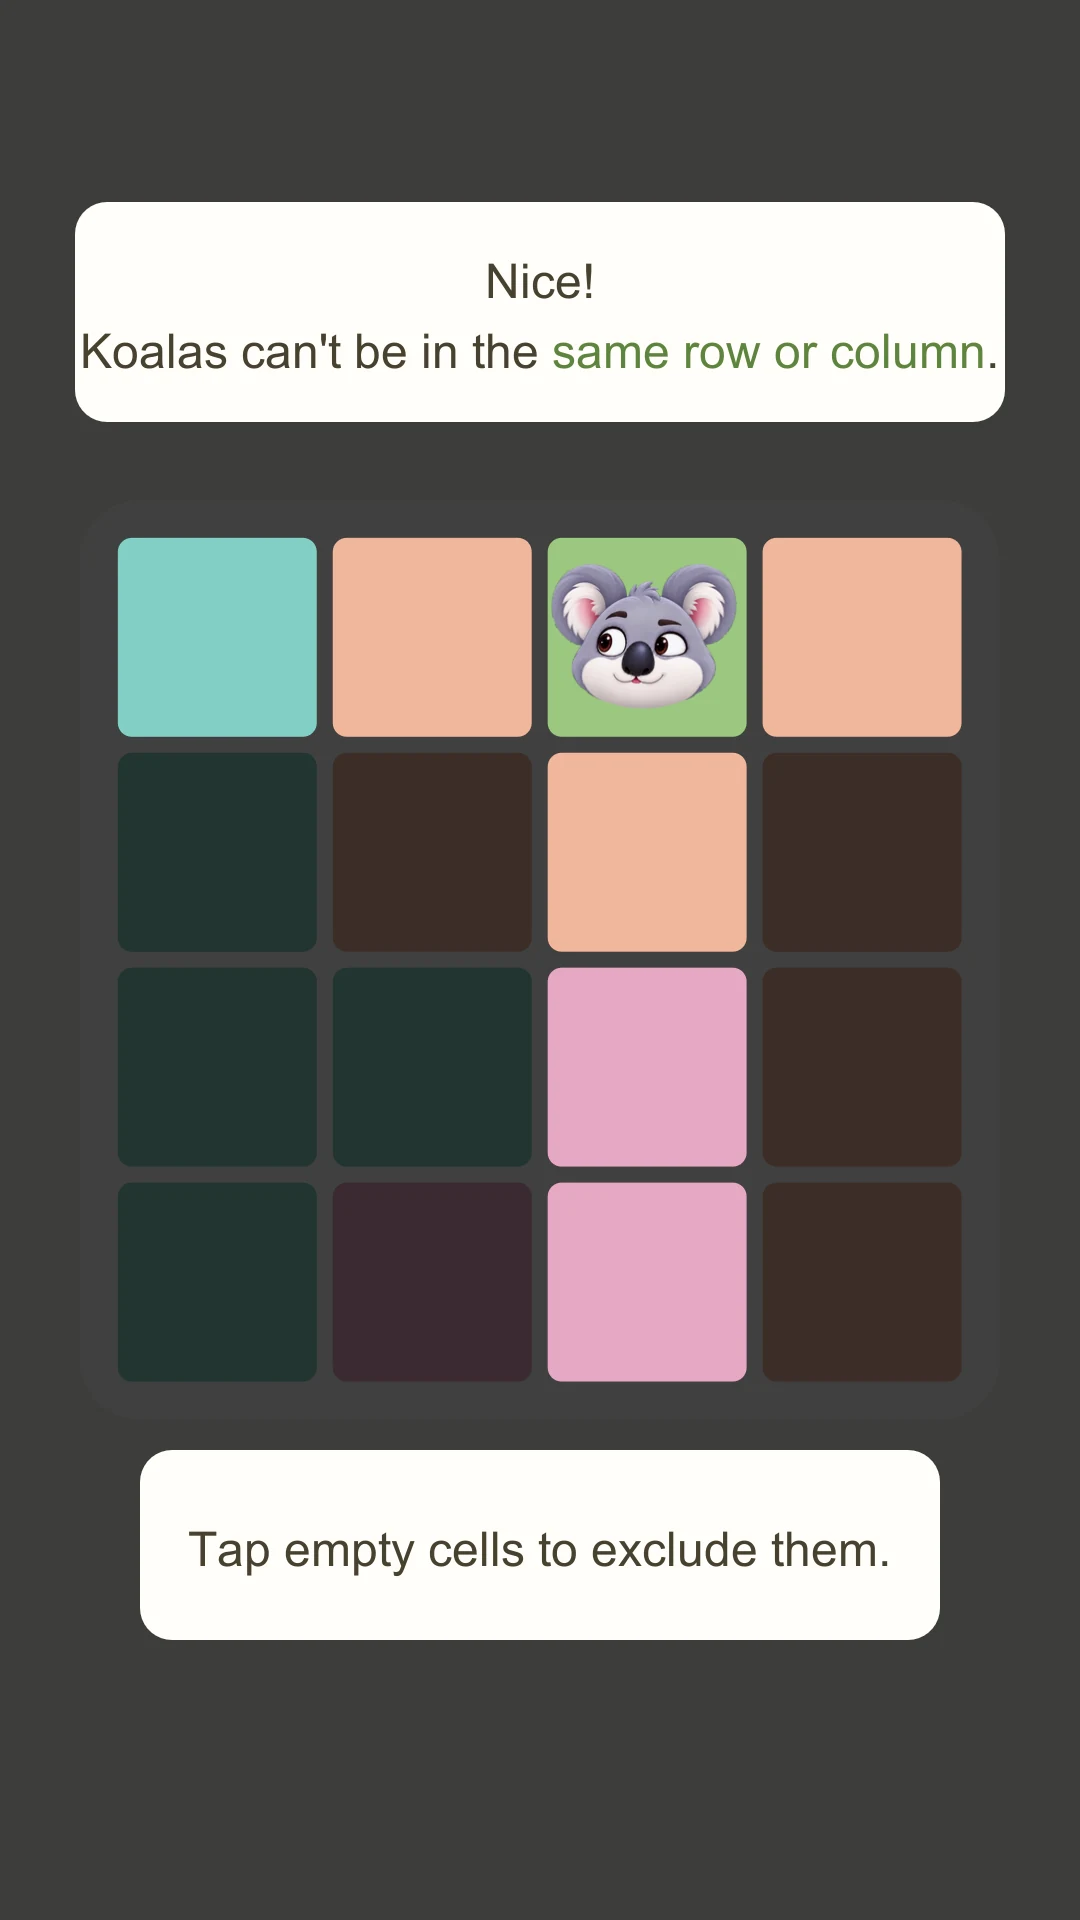
Figure 1: these highlighted squares need single-tap exclusions, not koalas.
Remove an incorrect mark
On a free-play board, tap a marked square again to remove ×. A drag starting on an empty square paints marks; a drag starting on a marked square can remove them. Guided lessons restrict input to their current highlighted targets.
Check four kinds of conflict
- Does the region already have a koala?
- Does the row already have one?
- Does the column already have one?
- Is there a koala in any neighboring square, including diagonally?
A square with no visible conflict can still be only a candidate. Rule out the alternatives before placing.
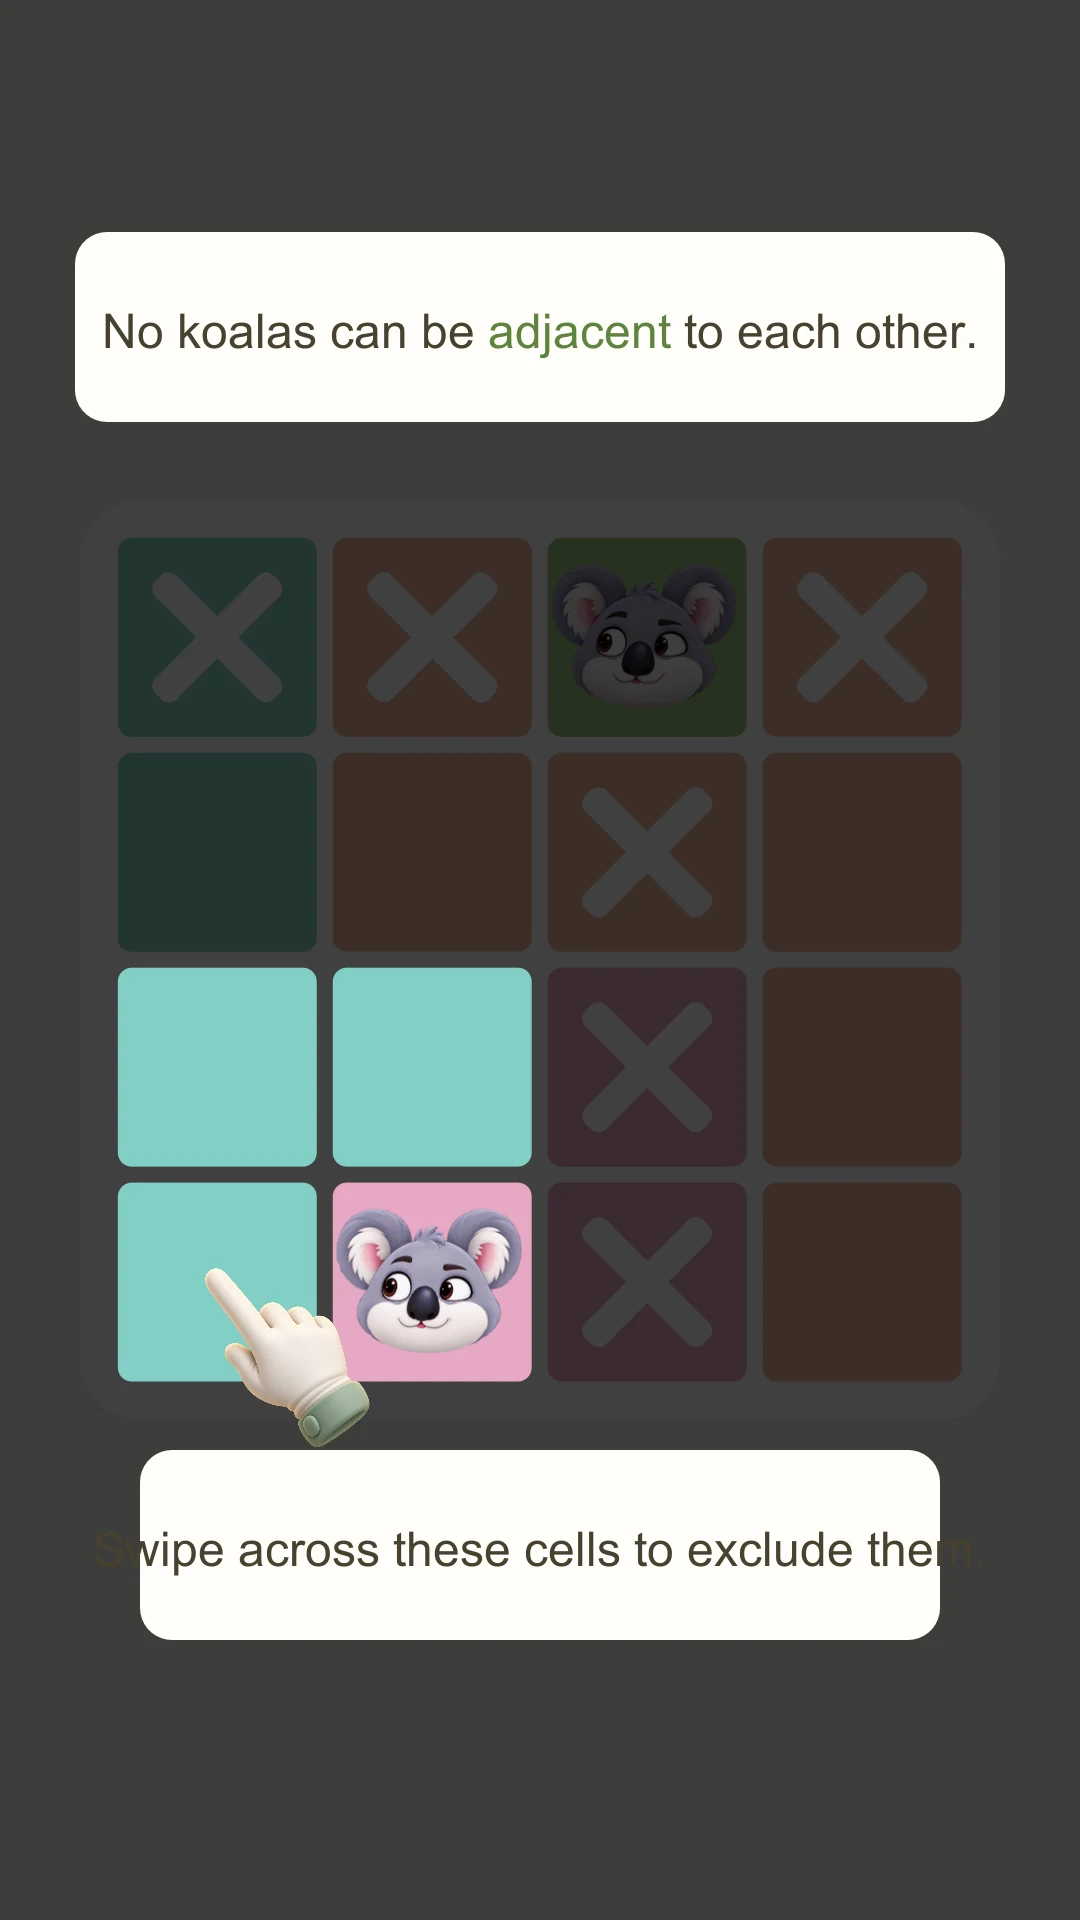
Figure 2: diagonal contact is a conflict too.
What do the leaves mean?
The leaves above a regular board show remaining lives. An incorrect double-tap placement costs a life. Avoid testing answers with random placements. Single-tap marks record exclusions, and unsupported marks can be removed.
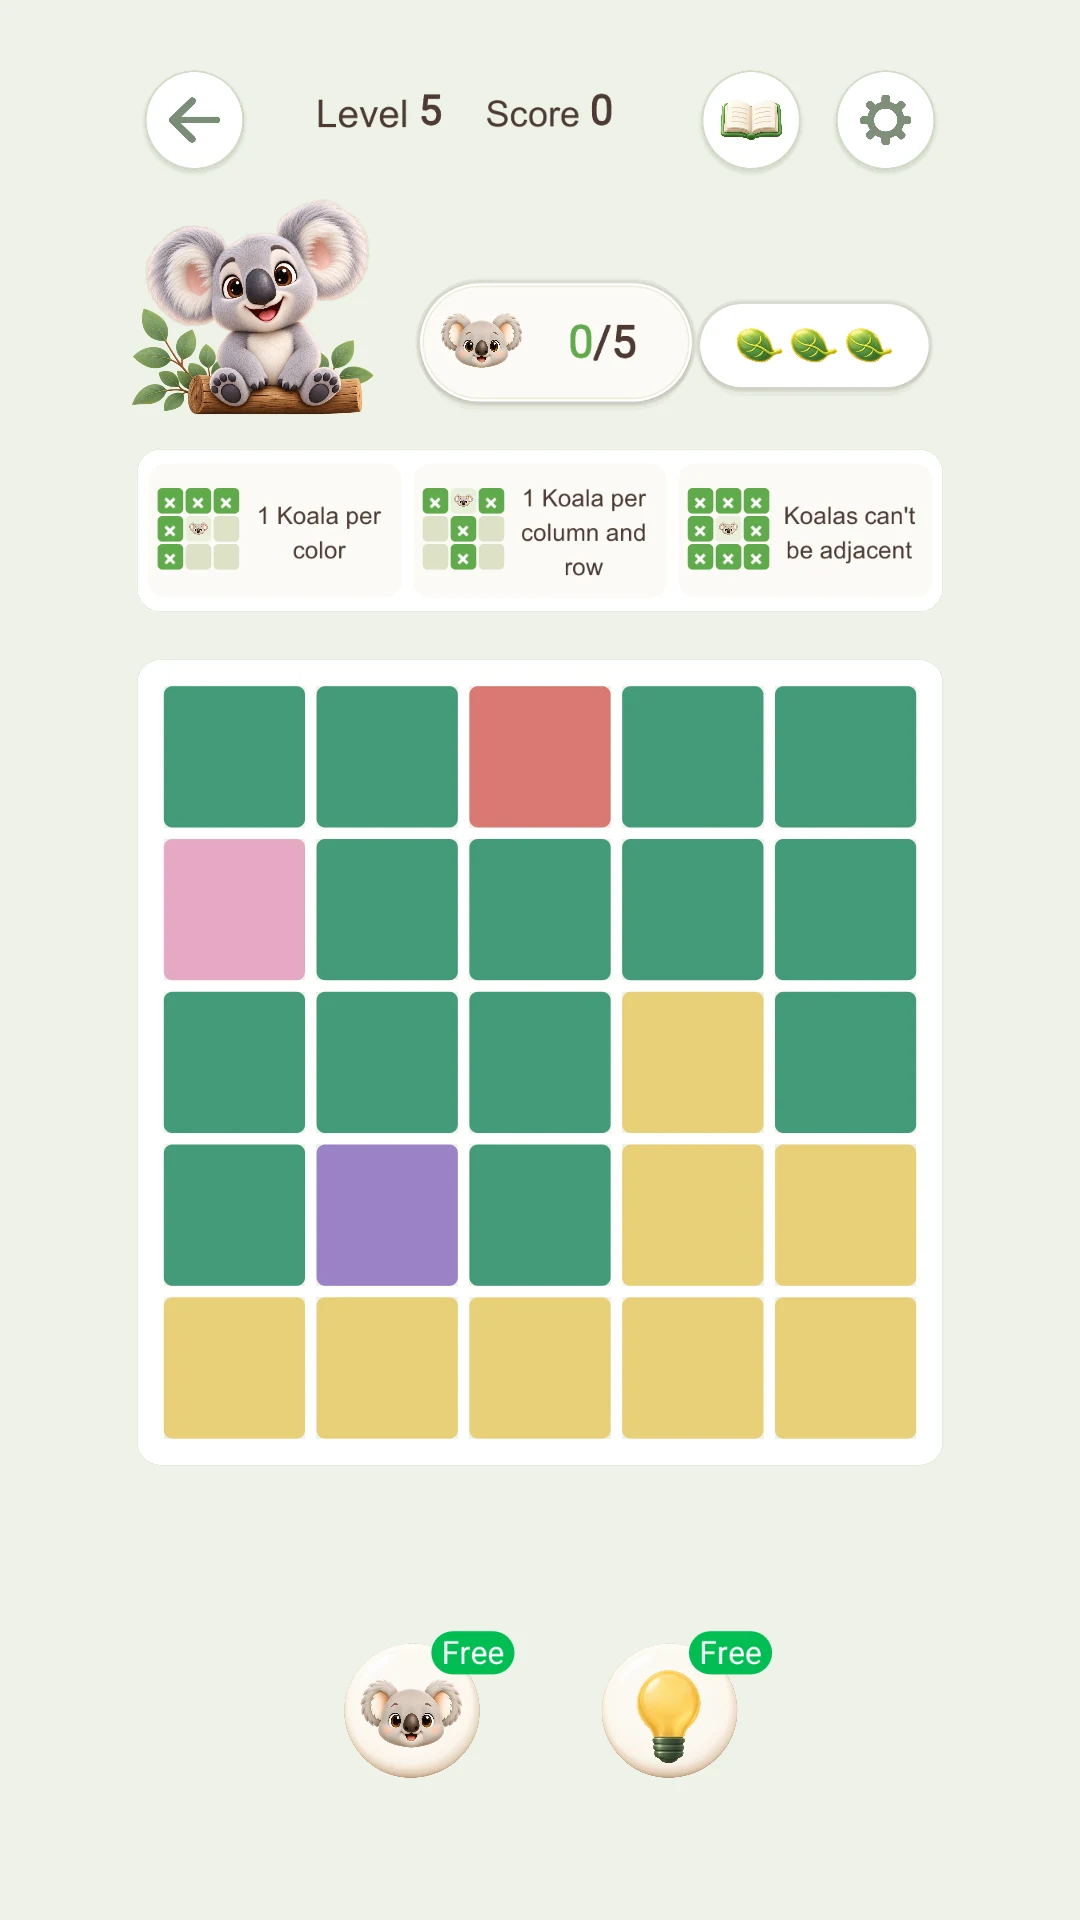
Figure 3: check before placing, and use a tool when stuck.
When you cannot find a candidate
Recheck your marks, then scan for a row, column or region with one candidate left. Use the bulb to understand a deduction, or koala Locate to get a correct placement.
Read the tool guide, or revisit the 4×4 tutorial.